
Last updated November 22, 2026
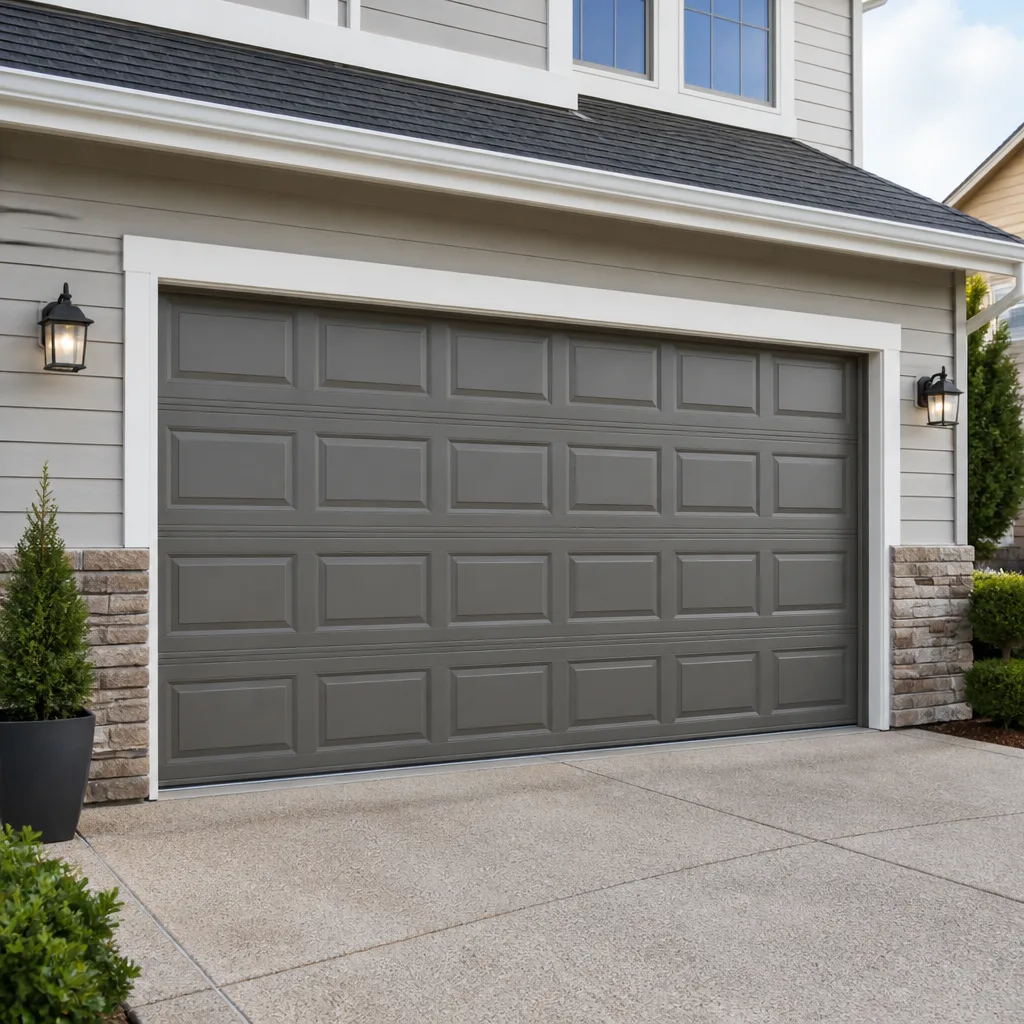 Raised-panel steel
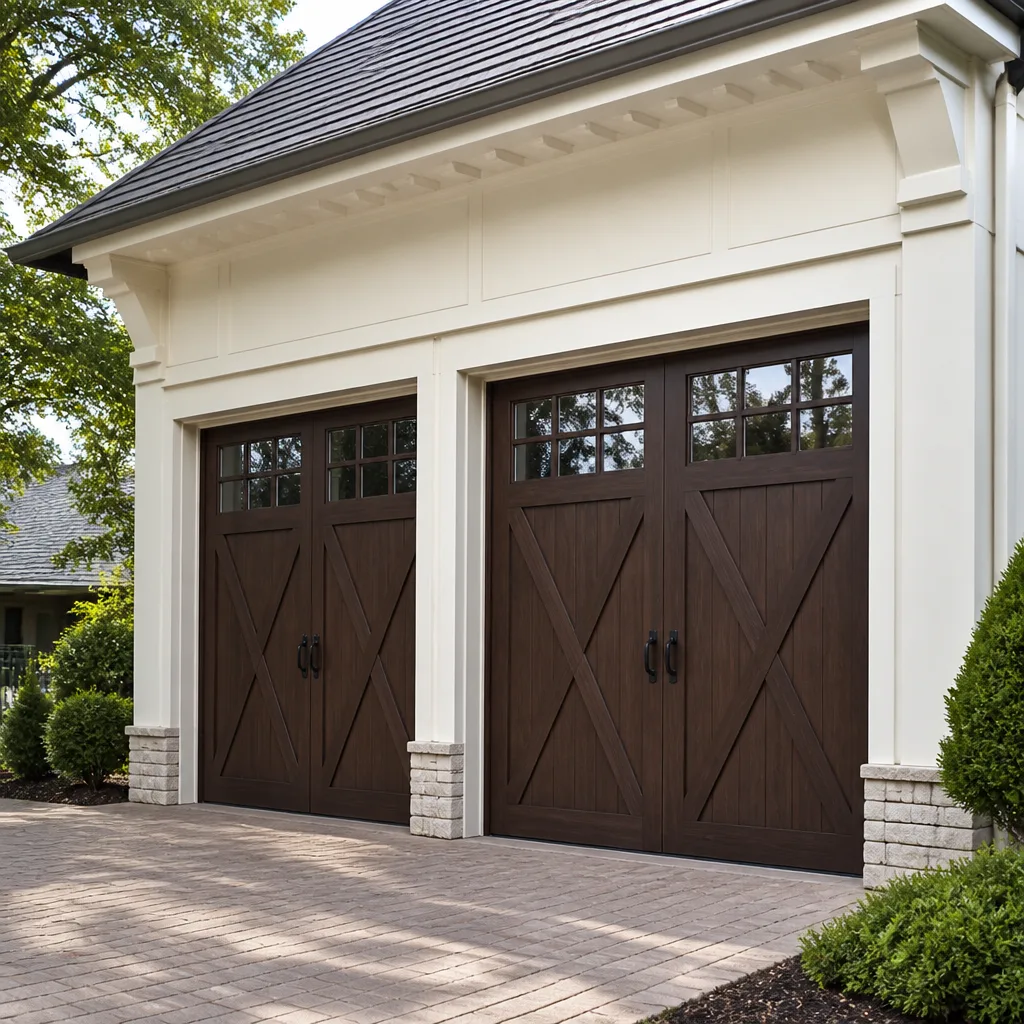 Carriage house
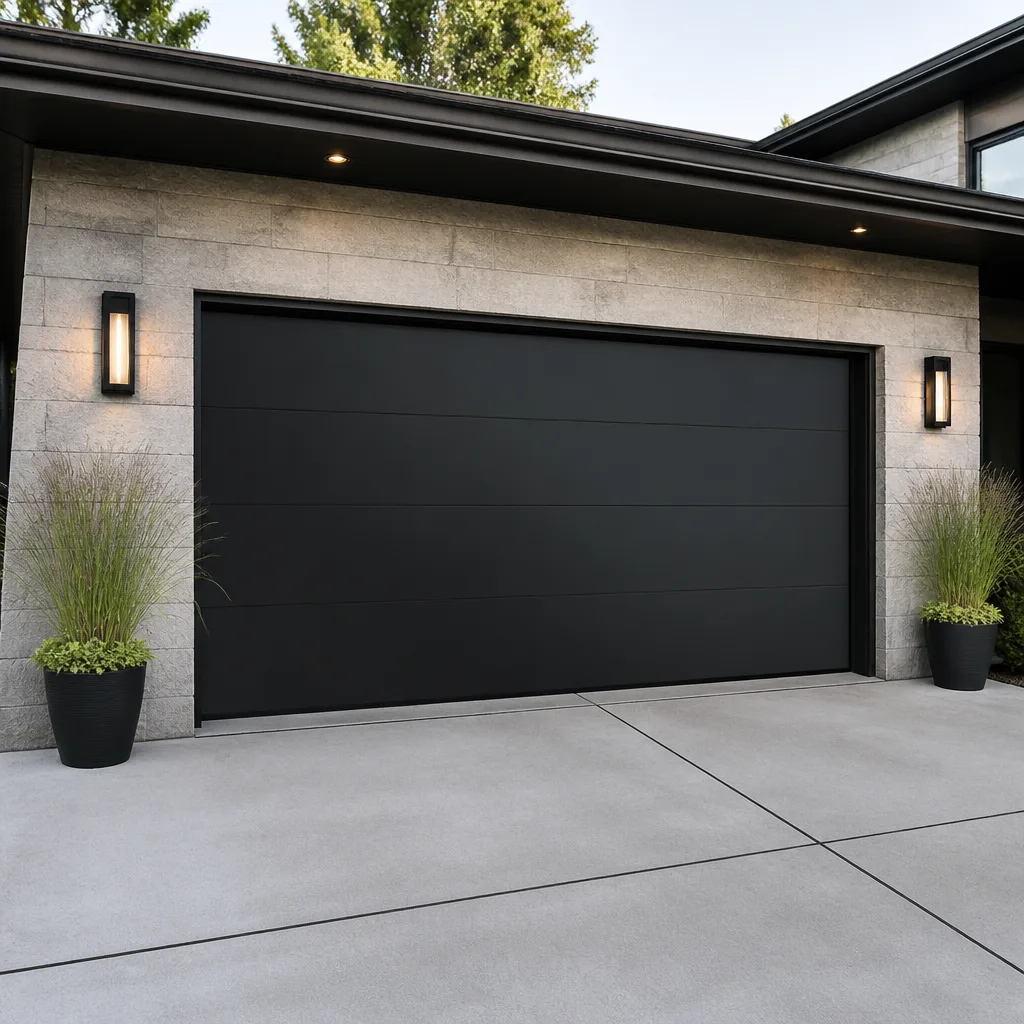 Modern flush
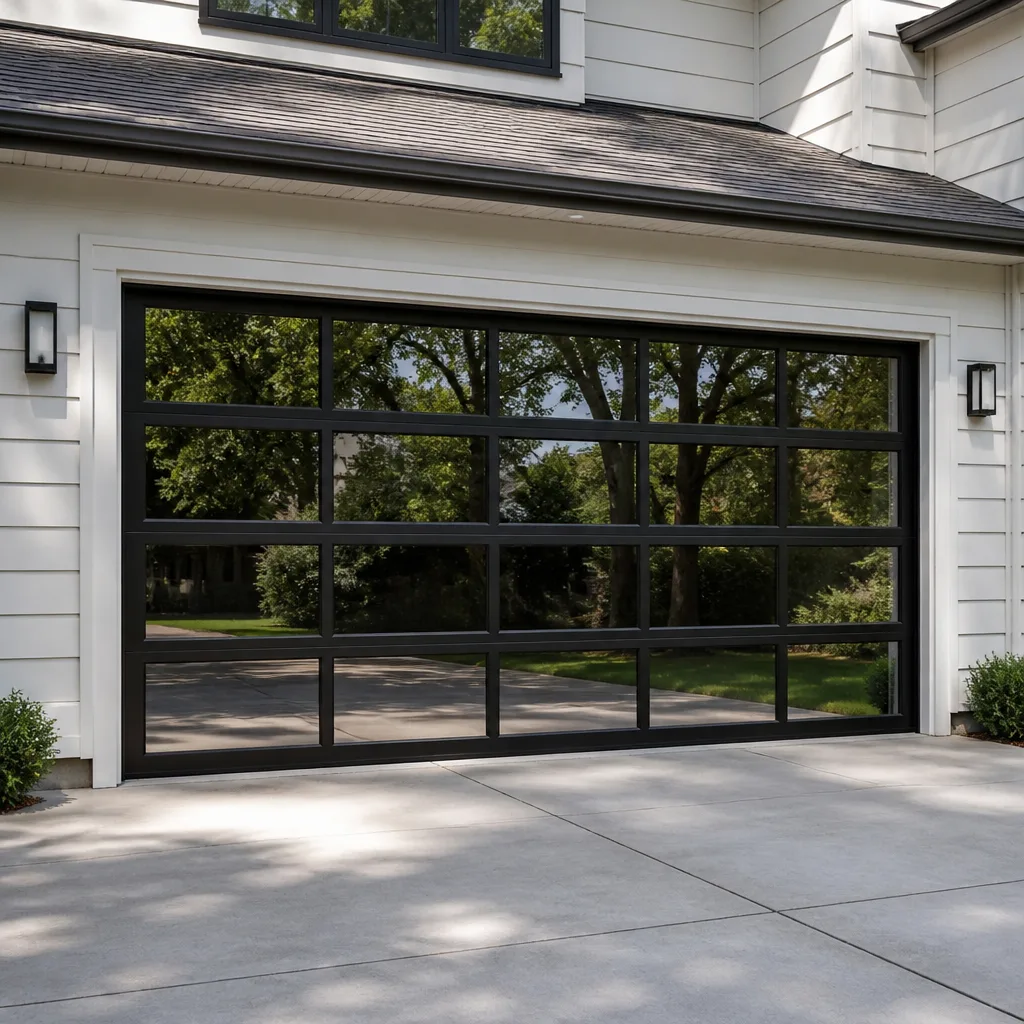 Full-view glass
 LiftMaster openers
 Chamberlain openers
Full 25-point door and opener safety check with every visit - springs, cables, rollers, tracks, and your LiftMaster or Chamberlain opener included
You get a price before we start. It does not change when the pro arrives.
Get your free estimateDIY vs Professional Garage Door: The Broomfield Homeowner’s Decision Guide
Torsion springs store enough energy to seriously injure someone in less than a second. That’s not a scare tactic – it’s stored mechanical energy, and it’s the reason the garage door is one of the few home systems where “I’ll just watch a video” can go badly wrong. But here’s the part most guides skip: plenty of garage door work is genuinely fine for a careful homeowner. Replacing a bottom seal, reprogramming a keypad, adjusting travel limits on an opener – reasonable projects for a free afternoon. The real question isn’t whether you’re handy. It’s whether the specific task in front of you carries physical risk that skill alone can’t reduce. This guide draws that line precisely, task by task, so Broomfield homeowners can decide without false modesty or false confidence.
Quick Answer
Most garage door maintenance is safe to do yourself, but anything involving torsion springs, cables, or the door’s counterbalance system belongs with a professional – not because you’re not capable, but because those parts store lethal force and a single mistake has no margin. Openers, seals, lubrication, and safety-reverse testing are reasonable DIY territory. If you’re unsure which category your problem falls into, that uncertainty is itself a reason to call.
Styles & brands we work with
- Raised-panel steel
- Carriage house
- Modern flush
- Full-view glass
- LiftMaster openers
- Chamberlain openers
Table of Contents
- The Three Categories: Safe DIY, Risky DIY, and Do Not Attempt
- What You Can Safely Do Yourself
- The Gray Zone: When DIY Costs More Than Hiring
- The Parts That Cause Real Injuries (And Why)
- What a YouTube Tutorial Actually Prepares You For
- DIY Mistakes That Turn a Small Fix Into a Big Repair
- How to Work Effectively With a Professional
- Why Broomfield Homes Face Specific Garage Door Wear
The Three Categories: Safe DIY, Risky DIY, and Do Not Attempt
Every garage door task falls into one of three buckets, and the category is set by the mechanics of the component, not by your experience level. Understanding why each task sits where it does is more useful than memorizing a list.
Category 1 – Safe DIY. Tasks with no stored energy, no lifting, and no risk to the door’s balance. These include replacing a bottom weather seal, lubricating hinges and rollers with the right product, wiping down tracks, programming a remote or keypad, cleaning photo-eye lenses, and testing the safety reverse. None of these can hurt you if you’re reasonably careful, and none can unbalance the door.
Category 2 – Risky DIY (proceed only with real caution and the right tools). These tasks can be done by a competent homeowner but require specific knowledge and physical comfort. Adjusting opener travel and force limits, tightening loose hinge bolts to spec (not overtight), and replacing a photo-eye sensor fall here. They don’t carry stored spring energy, but a wrong adjustment can cause the door to reverse unexpectedly or stop mid-travel, which is its own hazard.
Category 3 – Do not attempt. Anything touching torsion springs, extension springs, the lift cables, the bottom brackets, or the drums at the top of the shaft. Every one of these parts is under tension from the spring system, and releasing that tension the wrong way is how serious injuries happen. In our experience, this is also the category where a DIY attempt most often makes the whole door unsafe and drives up the final repair cost.
The classification isn’t a comment on your ability – it’s an honest line drawn by physics. A homeowner who successfully installs a smart opener can still be seriously hurt by a torsion spring, and that’s exactly why the categories don’t overlap.
What You Can Safely Do Yourself
Here’s the practical list. If your problem is on it, grab your tools and save the call. These tasks take under an hour for most people, and none of them can unbalance the door or release stored energy.
- Replace the bottom weather seal. The rubber or vinyl strip along the bottom of the door wears flat over time, and Broomfield’s dry summers and cold winters speed that up. Slide the new seal into the channel and trim to length. No tools beyond a utility knife and a screwdriver.
- Lubricate hinges, rollers, and the torsion bar bearing plate. Use a lithium-based or garage-door-specific lubricant, never WD-40 as a substitute (more on that below). A light coat two to four times a year keeps the door quiet and reduces wear.
- Program a new remote or keypad. Most LiftMaster, Chamberlain, Genie, and Craftsman openers have a learning button on the motor head. Press, pair, done.
- Clean the photo-eye lenses. Dust and pollen collect on the small lenses near the floor, and a dirty lens is one of the most common causes of a door that won’t close. A soft cloth fixes it in a minute.
- Test the safety reverse. Place a piece of wood on the floor in the door’s path and close the door. It should reverse on contact. If it doesn’t, that’s a call to a professional.
- Wipe down the tracks with a damp cloth. Remove grit and debris. Do not lubricate the tracks themselves – a common mistake we’ll cover below.
If you handle these yourself, you’ll extend the life of the door and catch small problems before they become large ones. That’s the value of DIY done right.
For the work that goes beyond this list, our garage door repair service handles everything from a snapped cable to a door that’s jumped the track. We work on Amarr, Wayne Dalton, Craftsman, Raynor, and the other major brands, so the parts and knowledge are already in place.
The Gray Zone: When DIY Costs More Than Hiring
Some tasks are technically doable by a homeowner but require tools you’d only use once. That’s the hidden cost nobody mentions: if a job needs a specialized tool that costs more than the repair itself, hiring wins on pure math.
Consider a few real examples of how the numbers shake out. These are typical price ranges, not quotes – the written estimate sets the final price for any professional work.
| Task | Typical professional cost | Tool you’d need | DIY verdict |
|---|---|---|---|
| Bottom seal replacement | $80-$180 | Utility knife, screwdriver | DIY makes sense |
| Single torsion spring replacement | $180-$340 (one spring); a matched pair is usually replaced together at roughly twice that | Winding bars, proper gloves, spring clamp | Do not attempt |
| Opener motor or logic board swap | $250-$550 installed, depending on model | Multimeter, sometimes a ladder and second person | Gray zone – warranty matters here |
| Panel or section replacement | $300-$800 per section depending on door type | Panel handling equipment, correct factory panel | Professional |
| Roller replacement (all rollers) | $150-$300 | Pliers, screwdriver, correct roller size | DIY-possible with care |
The gray zone is real. If you’re on the fence, ask a professional for a free estimate – you’ll know the number, and you can decide from there.
The Parts That Cause Real Injuries (And Why)
The single most important distinction in this whole guide: torsion springs and extension springs hold the entire weight of the door in stored tension. When a spring fails or is released incorrectly, that energy goes somewhere – and it doesn’t wait for you to step back.
A torsion spring on a standard two-car door is wound to hundreds of pounds of torque. The winding bars used to release that tension are the tools that keep the technician’s hands out of the release path. Without them, the spring can spin free in a fraction of a second with enough force to break a wrist, shatter knuckles, or worse. The same tension sits in the lift cables, the drums at the top of the shaft, and the bottom brackets where the cables anchor. A cable that lets go under load is a whip, not a limp strap.
This is exactly why manufacturers and safety guides warn homeowners away from DIY spring work. The warning isn’t about competence – it’s about the fact that a mistake here has no partial-failure mode. There’s no gentle warning that you’ve done it wrong, only a piece of steel moving at speed. We handle garage door spring repair safely as a core service for this reason. If your door has a snapped spring, a stretched extension spring, or a door that suddenly feels much heavier than it used to, do not try to release the tension yourself.
If you’re ever unsure whether a part is under tension, that uncertainty is the answer. Stop and call.
What a YouTube Tutorial Actually Prepares You For
Here’s the honest truth: tutorials are good for category-one tasks and misleading for anything else. A video showing how to replace a bottom seal will genuinely prepare you. A video showing spring work will not – and here’s why.
Video creators want their content to be watchable and useful, and filming the careful steps that prevent injury doesn’t always make a compelling video. The parts that get trimmed or glossed over are often the safety steps: securing the door before touching the springs, correct winding bar placement, the proper number of turns relative to the door height, and the hands-out-of-the-way posture needed while releasing tension. What’s left in the video can look like a clean, confident procedure – because the risky parts were handled off-camera or in a way the camera doesn’t capture.
In our experience, the homeowners who call us after a DIY attempt have usually done one of three things:
- Freed a spring and had the door slam down, damaging a panel.
- Over-tightened a hinge bolt and cracked the hinge or the panel it’s mounted to.
- Adjusted the opener travel so the door reverses late, then backed the door into a vehicle or caught a pet.
None of those were a skill problem. They were a video-tutorial problem – the video showed the parts you could see.
A tutorial is a great preview. It’s a poor substitute for having done the work safely a hundred times, which is the one thing a professional brings that a video can’t. Our technicians have up to 10 years of experience on the tools and on the same brands homeowners already have in their garages.
DIY Mistakes That Turn a Small Fix Into a Big Repair
Most of the expensive DIY outcomes we see aren’t from attempted spring work – they’re from small jobs done with the wrong product or the wrong pressure. Here are the ones that come up most.
- Using WD-40 or a general spray oil on hinges and rollers. These products attract dust and gum up over time. Use a garage-door-specific lubricant or a lithium grease, never a general-purpose spray.
- Lubricating the tracks. Counterintuitive but important: tracks should stay clean and dry. Grease on a track causes the rollers to slide instead of roll, which wears both parts faster.
- Over-tightening adjustment bolts. More torque is not more secure. Over-tight bolts strip threads, crack hinges, and deform panels – and once a panel is cracked, the repair moves from a bolt replacement to a panel replacement.
- Adjusting opener travel too far. The door should stop just at the floor and open just below the header. Pushing travel past those points strains the opener and the springs and can defeat the safety reverse.
- Pulling the manual release on a door with a broken spring. This is the one that turns a door repair into an injury. The spring holds the door up; releasing it with a broken spring means the door comes down hard.
- Forcing a door that’s stuck. If the door won’t move smoothly, something is binding – a track, a roller, or the opener. Forcing it makes the binding worse and can bend a panel.
Each of these is recoverable, but each also turns a thirty-minute job into a several-hundred-dollar repair. If you’ve already crossed one of these lines, it’s worth a call.
How to Work Effectively With a Professional
Hiring well is a skill, and it’s how you get the most out of the visit once you’ve decided to call. A few simple steps before and during the appointment make the job faster and the estimate tighter.
- Before the technician arrives, clear the garage floor and the door’s path. Move the car out, clear obstacles from the doorway, and make sure the area around the door is accessible. A professional can’t safely inspect a door with a car parked an inch from it.
- Write down what the door is doing. Does it stop short? Reverse immediately? Make a noise at a specific point? Note when the problem first appeared – it helps the technician narrow the cause faster.
- Gather the model numbers. The opener model is on the motor head. The door brand and model are often on a sticker on the inside of a panel. Knowing you have a Wayne Dalton or an Amarr helps us bring the right parts on the first visit.
- Ask three questions during the visit. What’s the cause? What are the repair options and what does each cost? Is there anything in my maintenance routine I should change?
- Verify the work before the technician leaves. Run the door through a full cycle (open, close, open). Test the safety reverse with a piece of wood. Check that the door sits flush on the floor and that the lights and safety features on the opener work.
- Get the written estimate before any work starts. The price is quoted and agreed before anyone touches the door. The estimate is free, and it’s the number that stands.
That last point matters. On this trade the most common worry after “what will this cost” is “will the invoice come in higher than the quote.” Our answer is simple: the estimate is written and agreed before any work begins, and that’s the price you pay.
Why Broomfield Homes Face Specific Garage Door Wear
Broomfield’s climate puts a specific kind of wear on every garage door in the city, and it changes which tasks move into the DIY column and which move out. The Front Range swings hard – dry, hot summers and cold, snowy winters mean the door’s moving parts see a wide temperature range across the year. Seals crack and flatten faster here than in a mild climate. Steel panels expand and contract, loosening bolts and stressing hinges over time. Spring steel itself cycles more in Broomfield than in a place with a steady temperature.
What does that mean for your decisions? It means parts that are “fine” in a moderate climate may be further along than you’d expect in Broomfield, and it means an annual inspection is worth more here than in a mild climate. The Interlocken and Anthem neighborhoods see the same pattern – doors that look fine until a single cold snap reveals a marginal spring. A door that suddenly feels heavy in January is telling you the spring is on its way out.
None of this changes the safety categories. A torsion spring in Broomfield is exactly as dangerous as a torsion spring anywhere else. What it does change is how frequently you should be checking seals, hinges, and rollers – and how often a small repair, caught early, prevents a bigger one later.
If you’re not sure whether a sound or a wobble is normal wear or a problem, that’s a good time to get an inspection. Broomfield Garage Door Repair Co is a specialist here, and the conversation costs nothing.
Common Mistakes to Avoid
- Attempting torsion spring work yourself. This is the single biggest category-three mistake we see, and it’s the one most likely to cause injury or a much larger repair. Leave spring and cable work to a professional – always.
- Using a general lubricant instead of a garage-door product. WD-40 and general spray oils attract dust and gum up hinges and rollers over time. Use a lithium or garage-door-specific lubricant, and never on the tracks.
- Overtightening adjustment bolts “to be safe.” More torque strips threads and cracks hinges and panels. Follow the manufacturer’s spec, and if you don’t know it, tighten to snug only.
- Pulling the manual release when the spring is broken. The spring holds the door up. Releasing it with a broken spring drops the door hard, and that’s how hands and feet get hurt.
- Ignoring a door that’s suddenly heavier to lift. In Broomfield, a door that feels heavier in winter is often a spring telling you it’s close to failing. Don’t force it – call.
- Lubricating the tracks. Counterintuitive, but grease on a track makes rollers slide rather than roll, wearing both parts faster. Clean the tracks; don’t grease them.
- Adjusting opener travel without testing the safety reverse. A door that reverses too late can crush an object – or catch a pet. If you change travel, retest the reverse with a piece of wood before you walk away.
See the difference
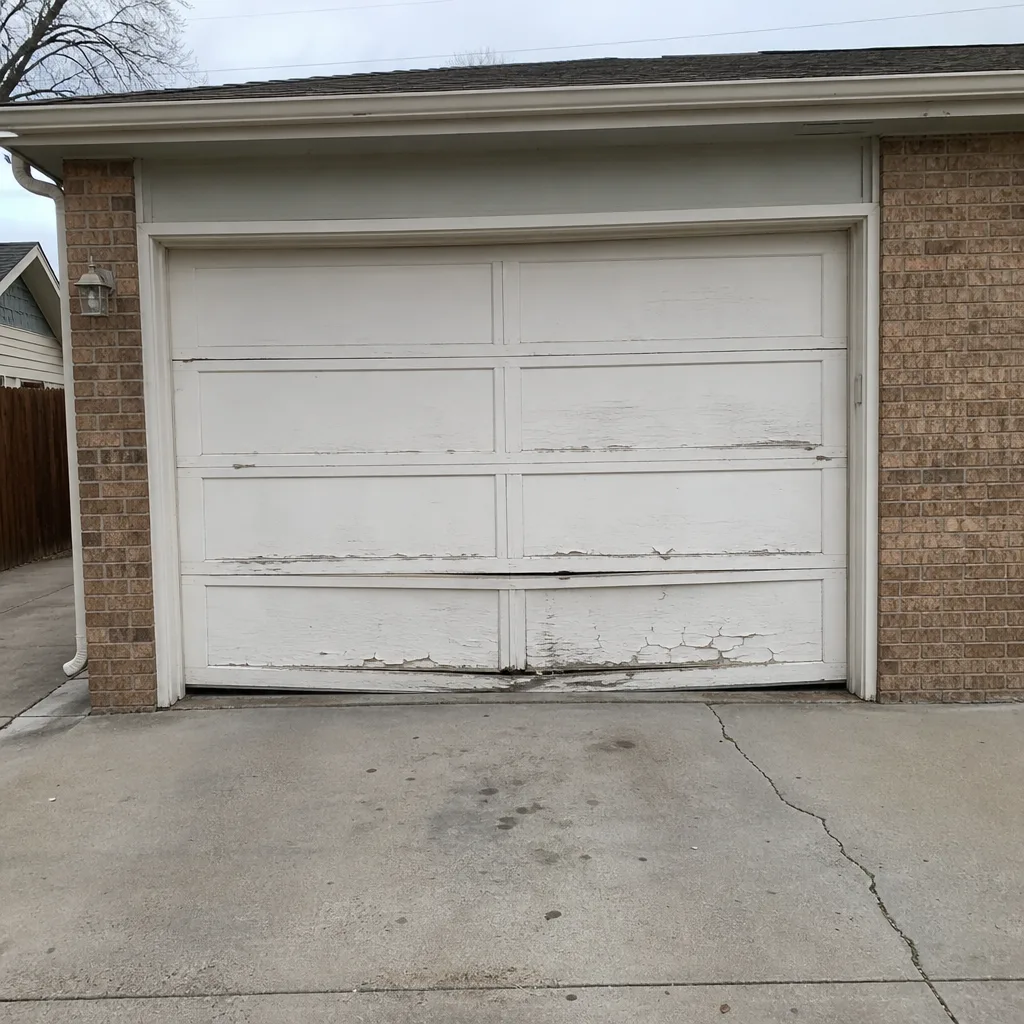 Before
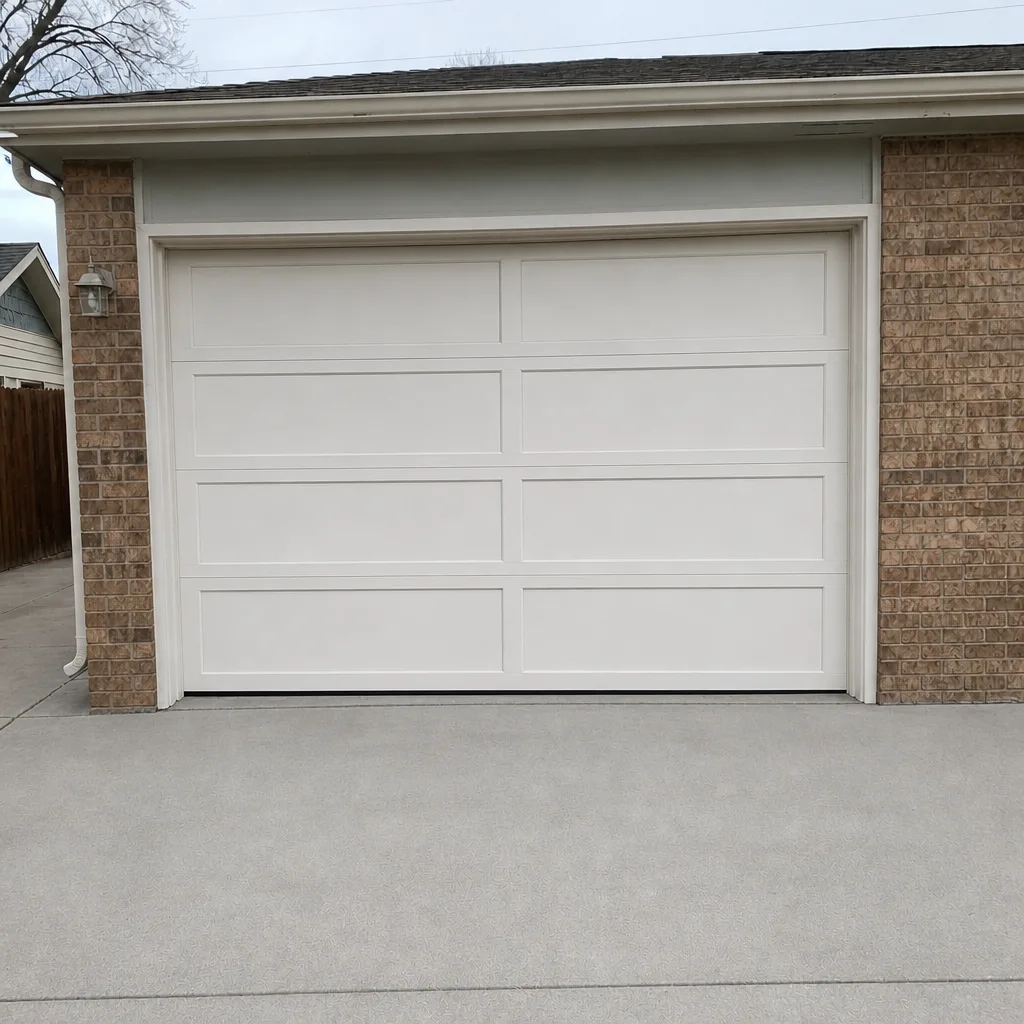 After
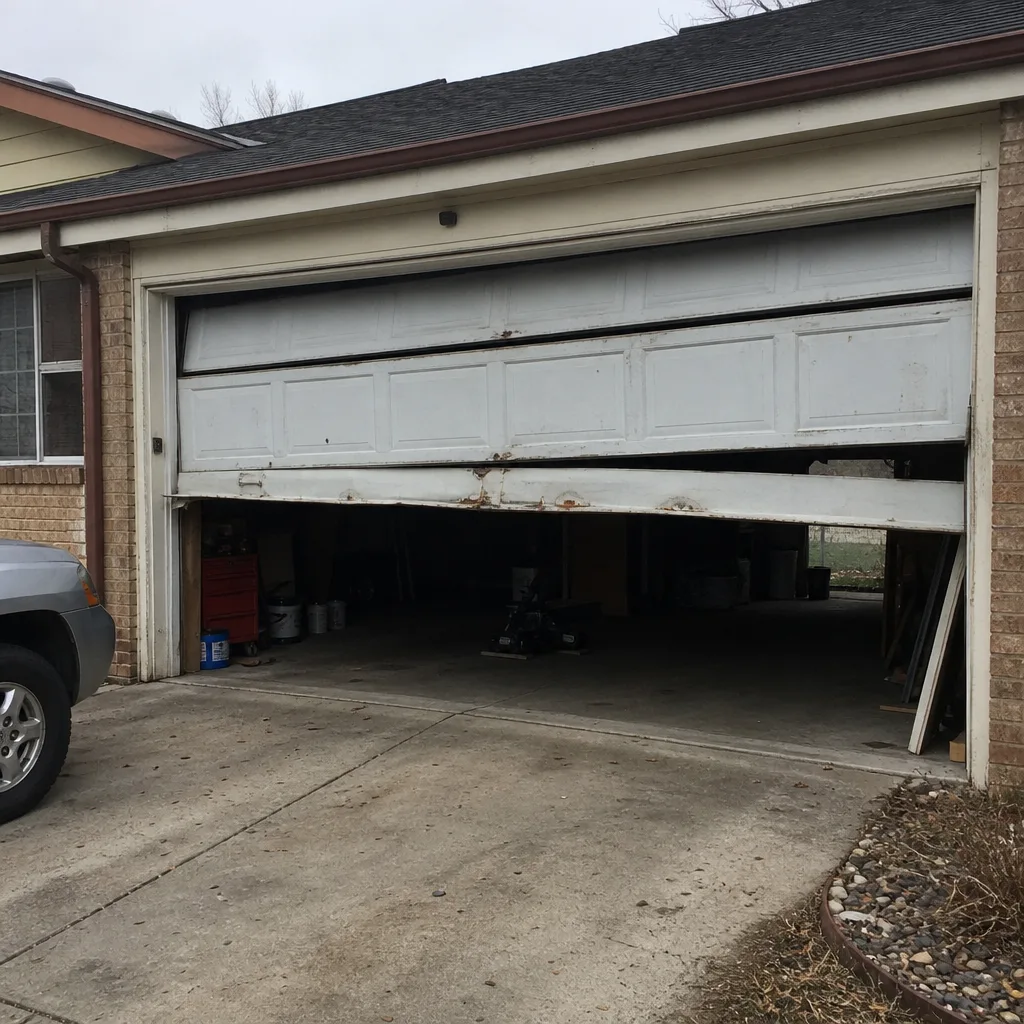 Before
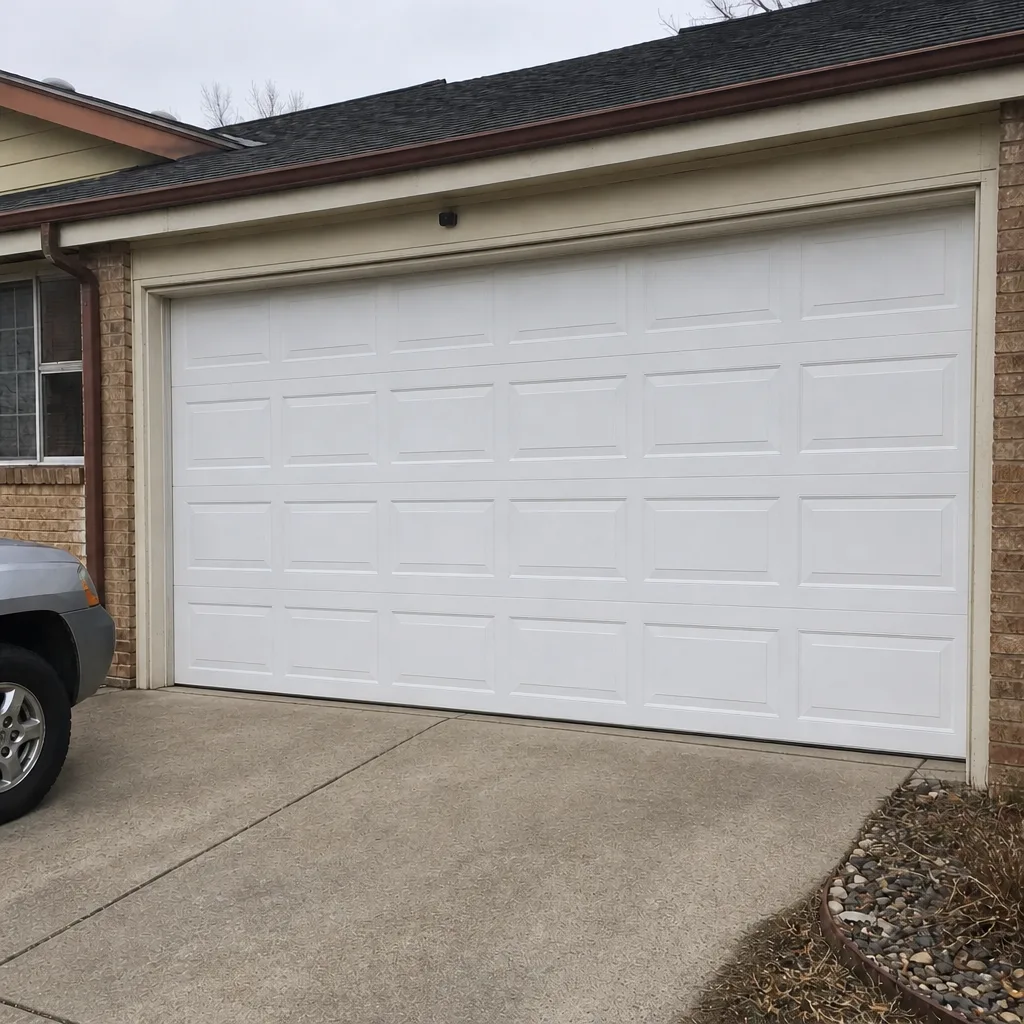 After
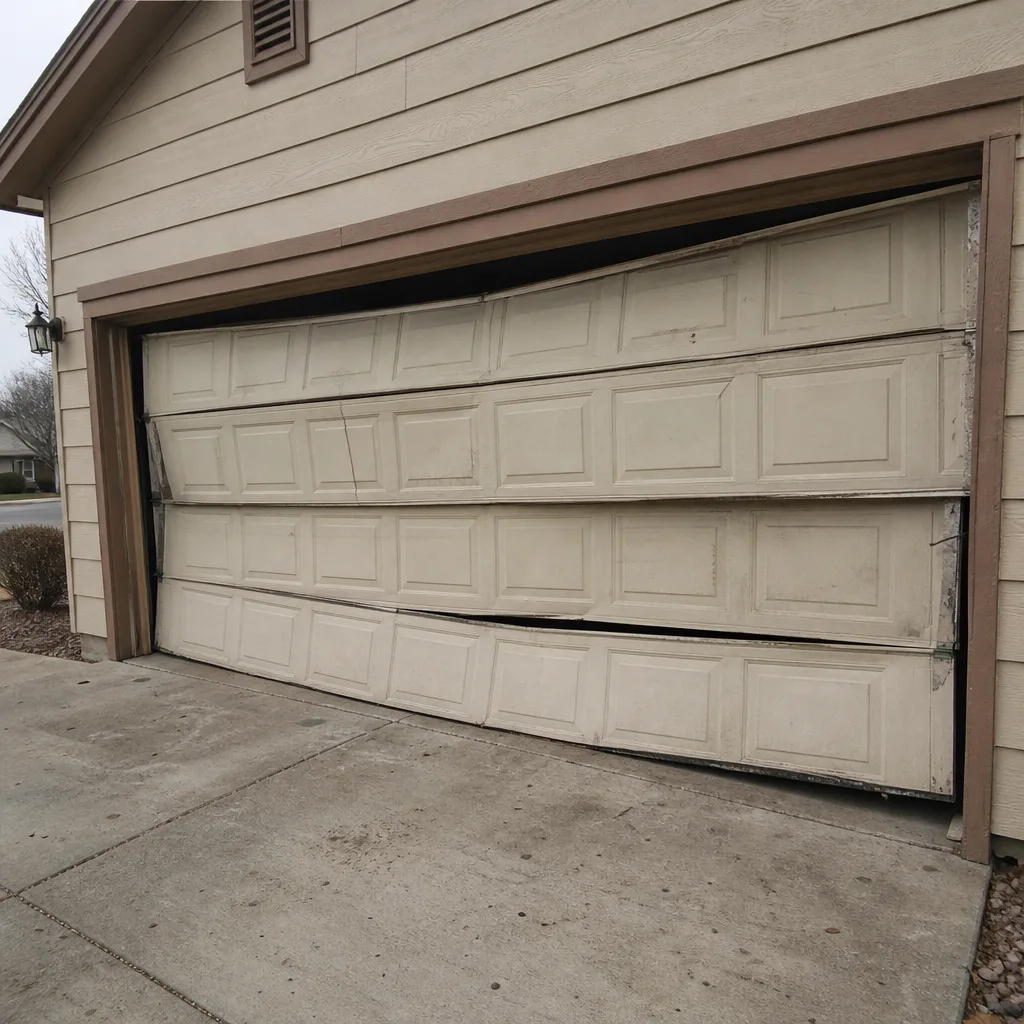 Before
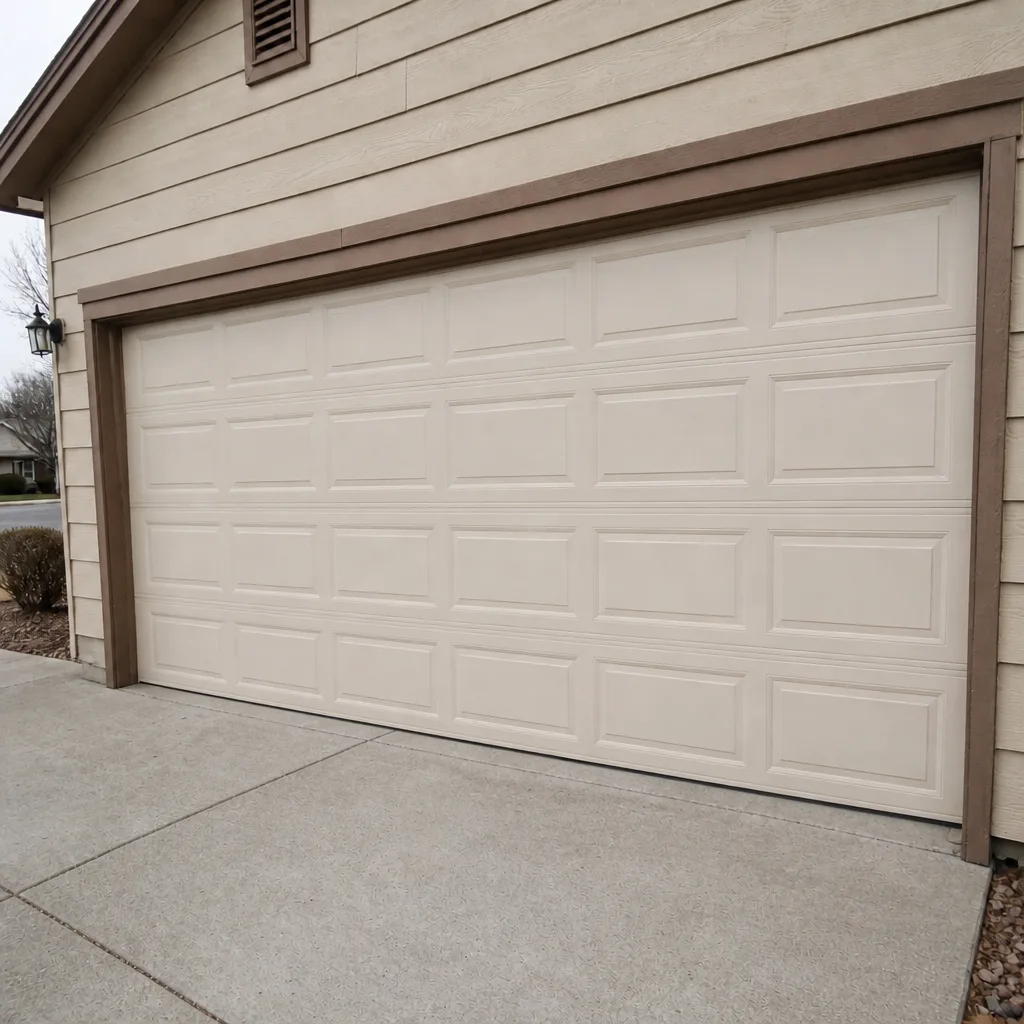 After
When to Call a Professional
Call a professional for anything involving the springs, the cables, the bottom brackets, or the drums – no exceptions. Call us if the door has stopped mid-travel, if it reverses immediately when you try to close it, if it’s come off the track or is visibly crooked, if the opener runs but the door doesn’t move, or if the door feels dramatically heavier than it used to. Also call if you’re mid-DIY and you hit something ambiguous: a bolt that won’t budge, a track that won’t line up, or a noise that wasn’t there before. Broomfield Garage Door Repair Co offers free estimates in Broomfield – call (833) 632-3182. We answer 24/7, and fast dispatch runs from 7am to 7pm, Sunday through Friday. If you need a full new door rather than a repair, we handle garage door repair and full installation under one roof.
Frequently Asked Questions
No – DIY spring replacement is the one task in this guide we’d firmly say not to attempt. Torsion and extension springs store enough energy to cause serious injury, and they have no partial-failure mode. The correct tools (winding bars, a proper clamp, hand protection) are only part of the picture – the safe technique comes from doing the work many times under a trained eye. Call us for garage door spring repair instead: (833) 632-3182 for a free estimate.
Typical pricing is $180-$340 for a single torsion spring, and a matched pair is usually replaced together at roughly twice that. Extension springs and larger doors can vary, and the written estimate sets the final price. The estimate is free and quoted before any work starts. Call (833) 632-3182 for an exact quote.
Yes, within limits. Adjusting travel and force limits on an opener is reasonable for a careful homeowner, provided you retest the safety reverse afterward. Do not adjust an opener if what you’re trying to fix is a door that binds, catches, or feels heavy – those are spring and track problems, not opener problems, and adjusting the opener will make them worse. If unsure, call us – we handle garage door opener repair on all major brands.
Often, yes. Same-day service is available for stuck doors, snapped springs, and openers that fail to close. We answer 24/7 and dispatch from 7am to 7pm, Sunday through Friday. Call (833) 632-3182 for a free estimate.
No – the written estimate is the price. We quote before any work starts, you agree to the number, and that’s what you pay. If the scope changes mid-repair, we stop and re-quote before continuing, so there’s never an invoice surprise. Call (833) 632-3182 for a free estimate.
The local professional we connect you with is licensed and insured as their state requires. Our technicians have up to 10 years of experience, and they work exclusively on garage doors. Call (833) 632-3182 with any questions.
We’re set up for the major systems: LiftMaster, Chamberlain, Genie, Clopay, Amarr, Wayne Dalton, Craftsman, and Raynor. If your door or opener is from one of those brands, we’ve got the parts and the knowledge on hand. Call (833) 632-3182 to confirm yours.
The Bottom Line
The DIY-versus-professional question for garage doors isn’t about whether you’re handy – it’s about which specific parts of the door carry physical risk that skill alone can’t reduce. Seals, lubrication, keypad programming, and safety-reverse testing are genuine DIY projects. Torsion springs, cables, brackets, and drums are not, and that line doesn’t move for anyone. Everything in between – opener adjustment, roller replacement, panel swaps – is a judgment call you can make with a free estimate in hand. For Broomfield homeowners, our advice is to do the safe work yourself with confidence, draw a hard line at the dangerous work, and call for the rest.
Broomfield Garage Door Repair Co is a garage door specialist – not a generalist handyman, not a big-box installer. We work on the brand you already have, we do spring repair safely, and we handle repair and installation under one roof. Broomfield Garage Door Repair Co offers free estimates across Broomfield. Call (833) 632-3182. We answer 24/7. Fast dispatch from 7am to 7pm, Sunday through Friday.
Written by the team at Broomfield Garage Door Repair Co.